Crafts
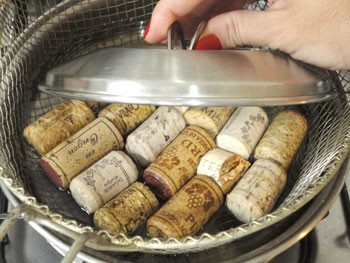
Soak corks in hot water for 10 minutes before cutting them for crafts–they won’t crumble.
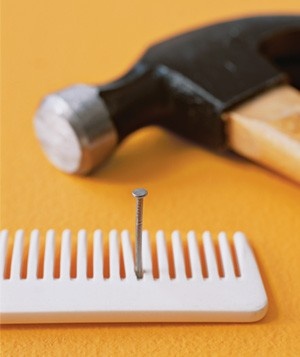
Avoid hitting your fingers when hammering nails by using the “teeth” of a comb to hold nail in place.
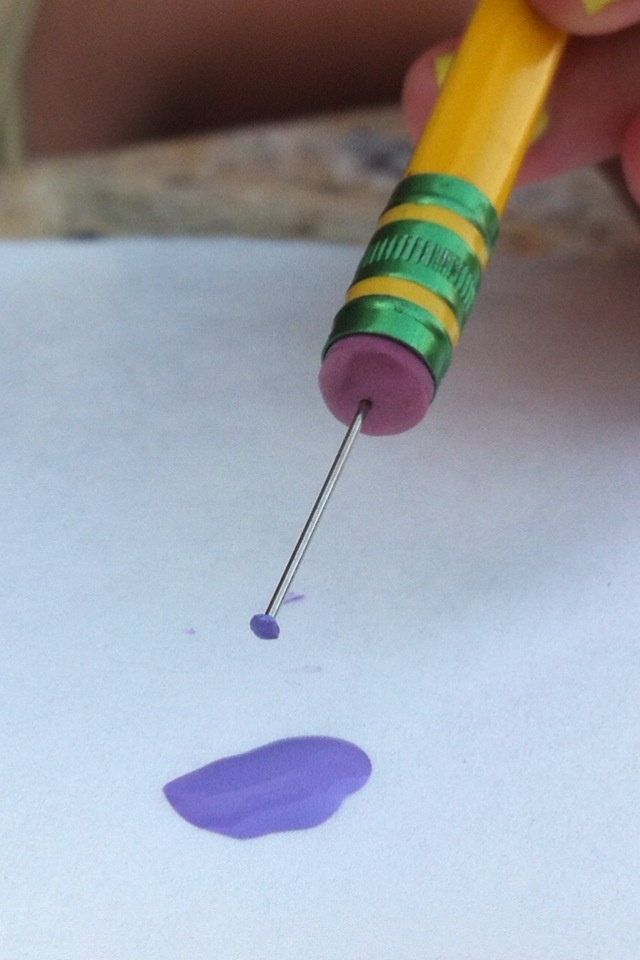
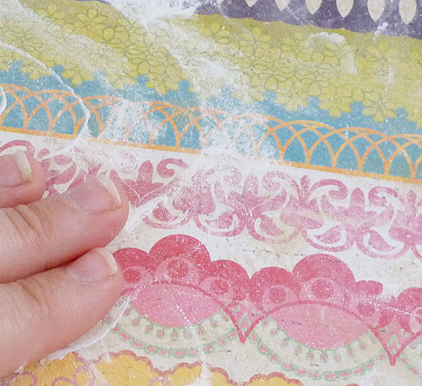
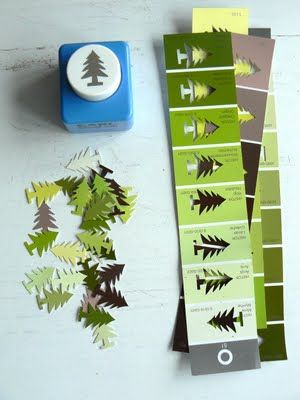
Do this to make tiny polka dots 🙂
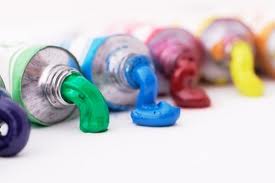
DID YOU KNOW??
There is an additive, called Fabric/Textile Medium, that you can add to any acrylic paint you buy to make it fabric paint!
.jpg)
Polymer clay like Sculpey or Fimo will last you FOREVER. Just run to your kitchen and grab your bottle of vegetable oil. Whether it’s every day vegetable oil, canola, olive or whatever you have in your kitchen cabinets doesn’t really matter.
Pour a little bit into a small bowl for crafting use only and smear a thin layer on top of your rock hard clay. Fold it in as best you can (if it’s REALLY old it might try to crumble on you but no worries) and fold in. Keep doing this until you get the consistency you want. Absolutely nothing will be changed and when you bake it, it will be business as usual. Genius!
WARNING!! Polymer clay (like FIMO or Sculpey) stays soft until you bake it and is often used in jewelry and crafts. Please take note that any knives or tools used when working with the clay will NO LONGER BE FOOD SAFE. Have dedicated tools just for using clay. Additionally clay must be baked per the package directions – do not over-bake. Also do not make items for use with food, tobacco or near an open flame. Have adequate ventilation (as with tons of other mediums) and never, ever try to microwave in lieu of baking.
Some even go so far as to say that your oven must be thoroughly cleaned before reintroducing food though I have not actually seen any evidence to support it it can’t hurt. If you intend to work on crafts that require baking frequently and are concerned, I suggest seeking out a little oven from a thrift store or garage sale.
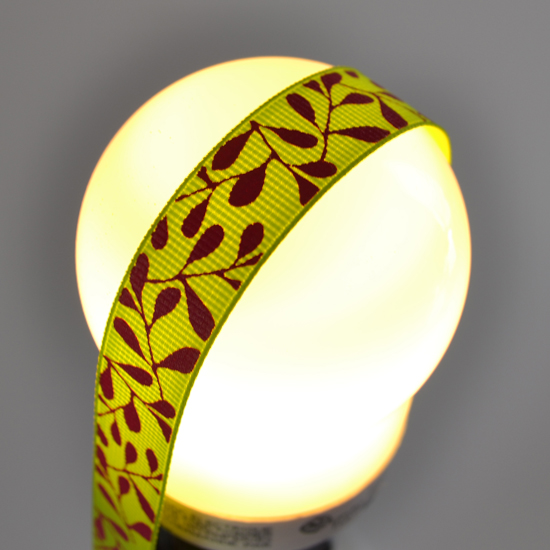
Got a kink in that ribbon? Take your ribbon and run it along the top of a lightbulb that has been on for some time so that it is good and hot. It won’t take long before your ribbon is back to perfect shape.
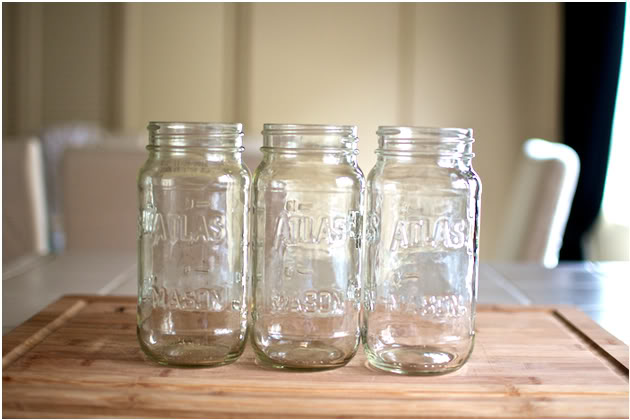
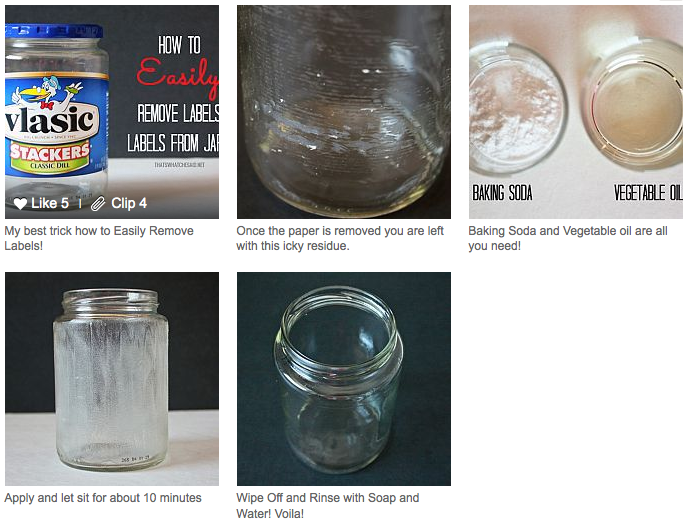
Mason jars are in craft projects like crazy right now and you want to make projects for your home that are on trend, right? (they’re also good for storage solutions) But the jars can be so darn expensive! Think about how many jars you bring into your home every trip to the grocery store.
My most recent trip I brought home spaghetti sauces, alfredo sauce, hot sauce and pickles, all of which came in jars. When you use the contents up wash them and start a stash. You will be simply AMAZED at how many jars you were tossing out.
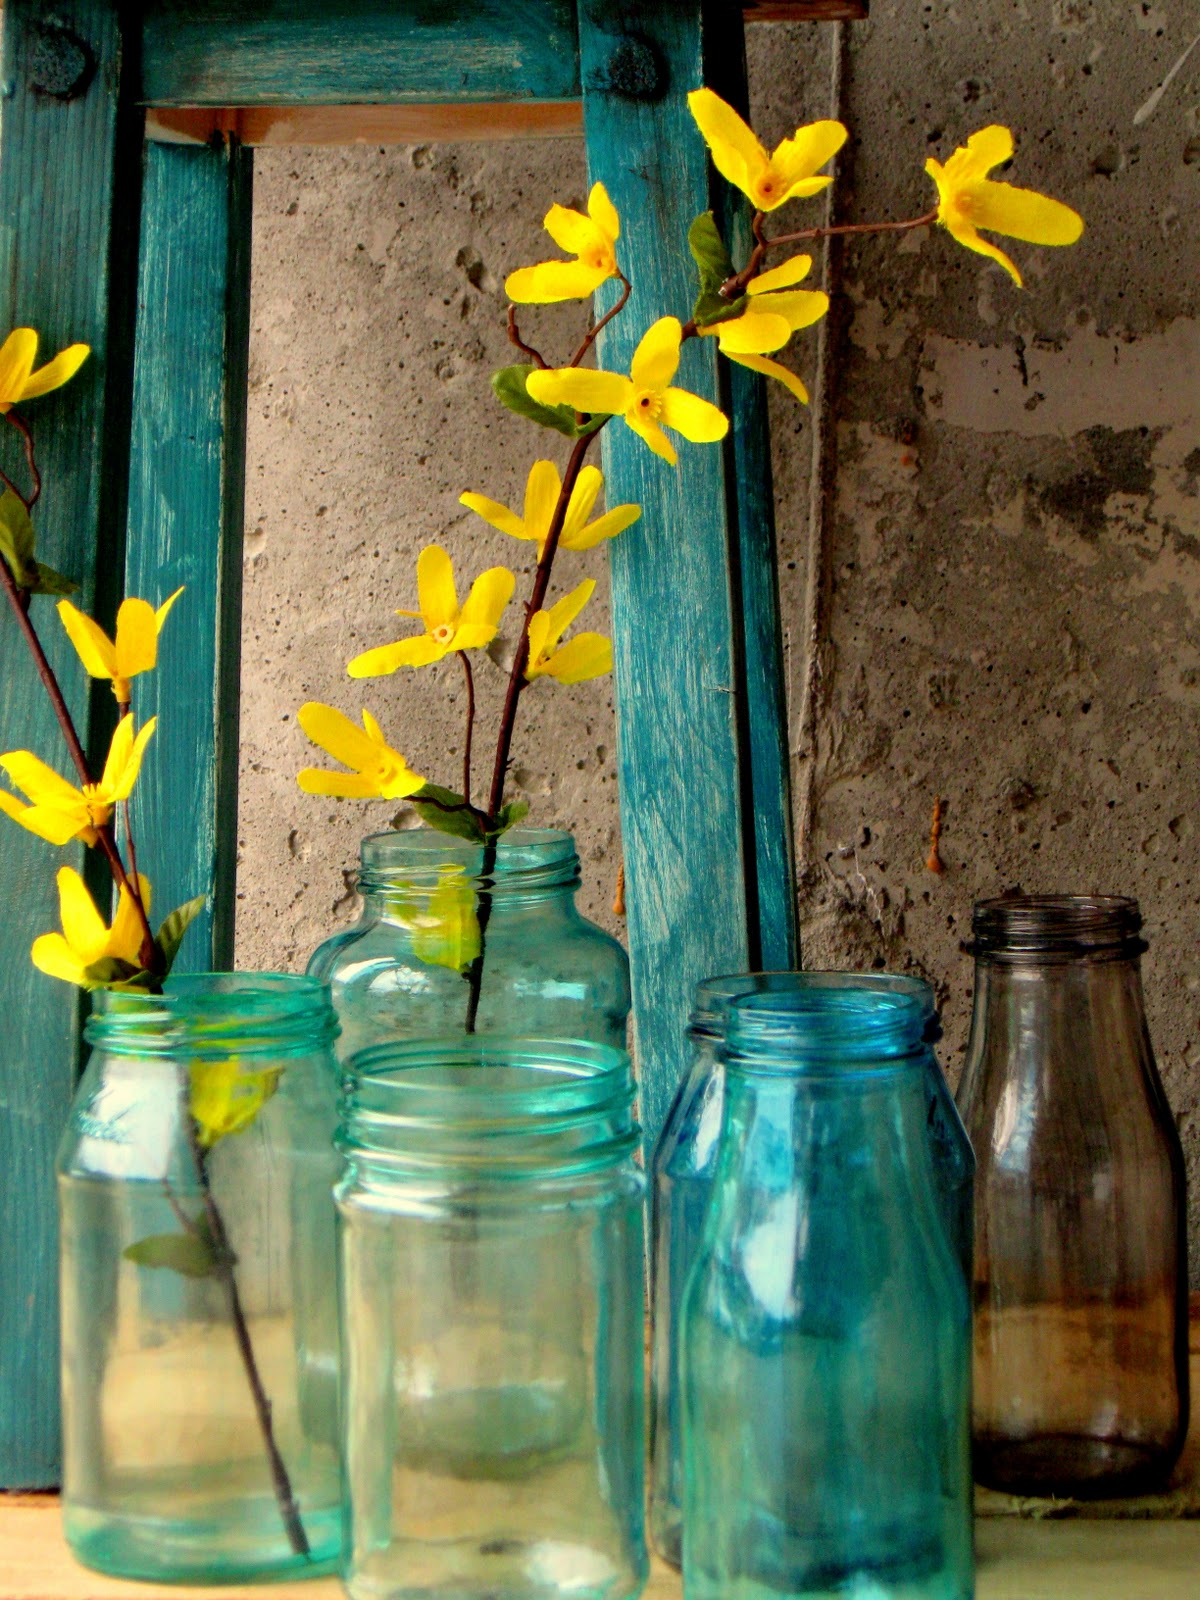
MAKE YOUR OWN VINTAGE LOOKING GLASS JARS!!
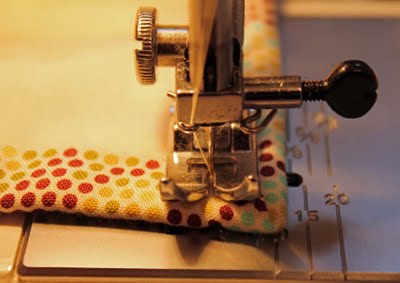
Do you have trouble with your fabric wiggling around on you when you’re trying to machine sew?
If you want to save the effort of ripping out a bazillion seams and sew it perfectly the first time, you simply must use aerosol basting spray. You can get it on Amazon, at Wal-Mart, Hobby Lobby and probably absolutely any craft or fabric store in your neck of the woods. It runs around $10-20 but it’s worth every penny. When used per the directions (meaning you don’t spray the unholy heck out of your fabric) it will NOT gum up your machine, either. Plus, it will completely come out with your first wash!
What do you do when you inevitably get over-spray on your workspace or somewhere on your project itself that it wasn’t intended to be? Corn starch. Sprinkle just a little bit on to the sticky offense, rub it a bit and you’ll rub the sticky away. Good news is it doesn’t leave a white expanse like you think it would. Don’t spend money on those expensive cleaner the brands sell. This works better.
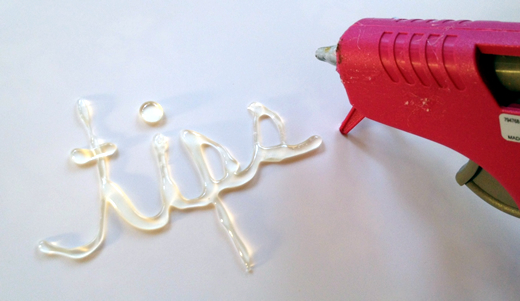
Hot glue is a must-have for crafters…..here are some helpful tips for using hot glue:
Store your glue sticks in the freezer to keep the glue from being stringy. Or – put a tiny dab of petroleum jelly on the tip of your gun
In the event that you have strings hanging off of your craft, hit it with a blow dryer and watch them disappear!
Put a dot of hot glue on a toothpick and let dry – since it dries kind of tacky you can use it to pick up tiny rhinestones or similar things that are small and your fingers might fumble.
One of the most obvious safety tips is to keep a small bowl of ice water nearby when working with your hot glue gun.
Use tools for holding on to objects while you are glueing them. If you are working with tiny pieces, a pair of tweezers or needle-nose pliers can be very handy for keeping your fingers out of harm’s way.
Use something besides your fingers to press your two glued objects together. This is especially true if you are glueing thin materials like fabric or felt. The heat of the glue can seep through and burn your finger tips and you press the objects together using something like a popsicle stick or plastic spoon can help protect your finger tips.
Use inexpensive plastic placemats under your hot glue gun and the area you are working at. Most of the glue peels right off when dry, but if it doesn’t you didn’t mess up an expensive mat.
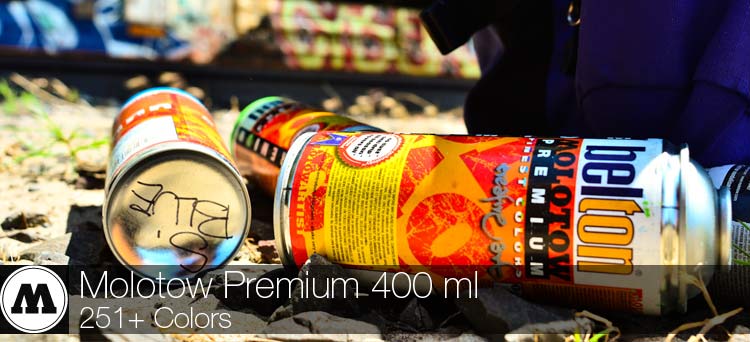
Need a color of spray paint you can’t find at your local big box or hardware store? If you have the time to wait, check out artprimo.com They supply spray paint to graffiti artists which means there are a TON of colors; some you may not have even imagined. Sorry in advance, there are some with inappropriate names! (Find other online companies by searching “buy online graffiti supplies”)
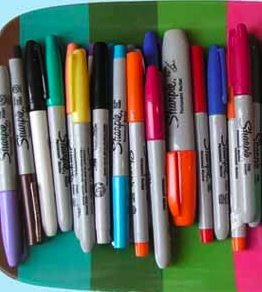
Store your magic markers, paint pens, etc. horizontally instead of standing up. It will keep gravity from jacking up the tip making the ink ooze out completely. This will make sure your markers and pens stay good for much longer.
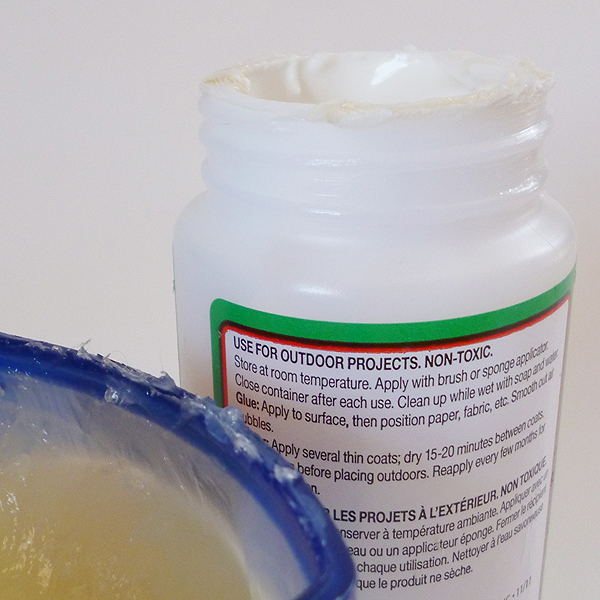
I get so irritated when I go to open up my glue or decoupage and it won’t budge. It’s literally glued shut! I can usually get into it by running the lid under very hot water for a while and then hitting the lid with a hammer to loosen it….but this is a waste of time and can be frustrating. Instead, when you open up a new thing of glue, Mod Podge or any other type of adhesive…even paint for that matter, rub the threads with some petroleum jelly, touching up on occasion if necessary. Voila! problem solved.
Genius idea! I found this on pinterest and just had to share it with you!

Clever way to store your paints!
_______________________________________________________
Remove Labels From Glass Jars Easily With This Method!
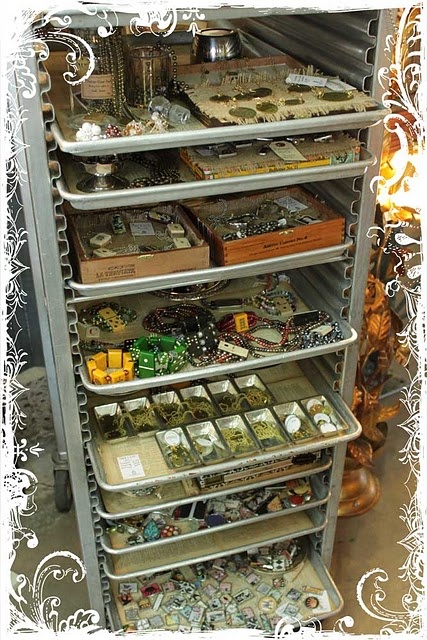
Repurpose an old bakers rack for storage. Jewelry pieces, paints or even papers. Also could be used for a drying rack. Love it!


{ 0 comments… add one now }